Email Campaigns
IN THIS ARTICLE
How to set up an Email campaign in ReachEngine?
Follow these simple steps to set up a new campaign in ReachEngine: –
- Log in to your ReachEngine dashboard.
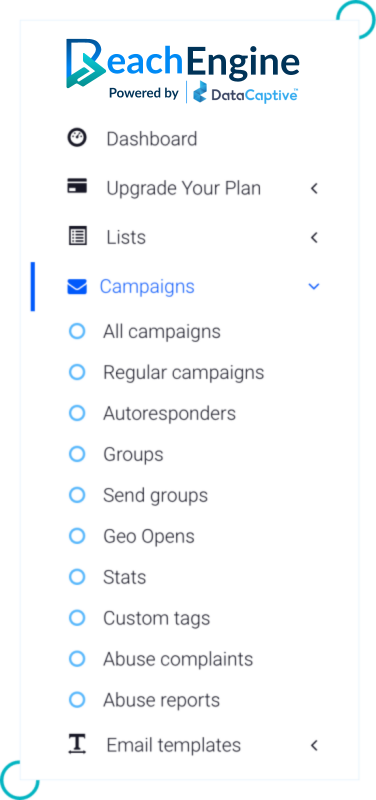
- Go to “Campaigns > All Campaigns.”


- Click on “Create New.”
- Fill in the required details and click on “Save and next.”
- Enter the following information: –
From name | The sender’s name that you want to display in your recipient’s email inbox. |
From email
| The recipient will receive the email from this email address. |
Reply to | When your recipient replies to your email, it will be received by this email address. |
To name | Choose the Tag that suits your campaign the most: –
|
Subject | What subject line do you want to send your email with? We have a set of tags and emojis to help you customize your subject line easily. Available tags are: –
|
- Enter the following information in the second form called “Campaign options”: –
Open Tracking | Open Tracking option helps you track email opens for the campaign you are sending. |
URL Tracking | URL Tracking option gives you the statistics about the clicks on the URLs embedded in your email campaign. |
Embed Image | There are two ways of incorporating images in an email –
This option lets you choose the way that is more convenient for you. |
Plain text email | With this option, you can choose whether or not you want the editor to create a plain text version of your HTML template. |
Tracking domain | You can choose to have a tracking domain from the ones that you have added to the dashboard. |
Preheader | Preheader appears at the top of the email and email inboxes. If you don’t add a preheader, a snippet from your email is displayed under your subject line in the inbox. Preheaders can also significantly improve your Open Rate. Adding a Preheader in a ReachEngine campaign: – Add a short summary text about what the email contains before you open it. |
Forward friend subject | This is used when a subscriber of yours decides to forward your email. If you enter text in this field, that will be used as the subject line in the forwarded email. If you leave this field blank, your original subject line will be used in the forwarded email. |
At this stage, you can choose to customize your campaign further and/or add attachments using more options: –
[For more information about each option, please click on the “i” (information) icon given against them.]
- Change subscriber custom field value upon campaign open
- Change subscriber custom field value upon campaign sent
- Actions against subscribers upon campaign open
- Actions against subscribers upon campaign sent
- Subscribers webhooks upon campaign open
- Extra tags
- Campaign delivery servers
- Campaign attachments
This concludes the set-up part of the campaign. Click on “Save and Next” to move on the “Templates” section.
Here’s a demo of setting up a campaign: –


